

Adding an expense: by hand, by photo, and through automatic channels
Three ways to log an expense in Monuvia: typed in by hand from Home, from a photo of a bill, or automatically from your phone. Here's each one and when to use it.
Log any expense in seconds and watch this week's available amount go down, even with no signal.
- Be signed in to Monuvia.
- For the photo: a camera or an image in your gallery. The first time, a few seconds of connection to download the reader.
- Adding by hand and by photo work offline; they wait in a queue and are recorded when you reopen the app with a connection.
In Monuvia, an expense is anything that comes out of your pocket day to day: lunch, groceries, gas. Every expense you log lowers this week's available amount. You have three ways to record one, and you can mix them depending on the moment.
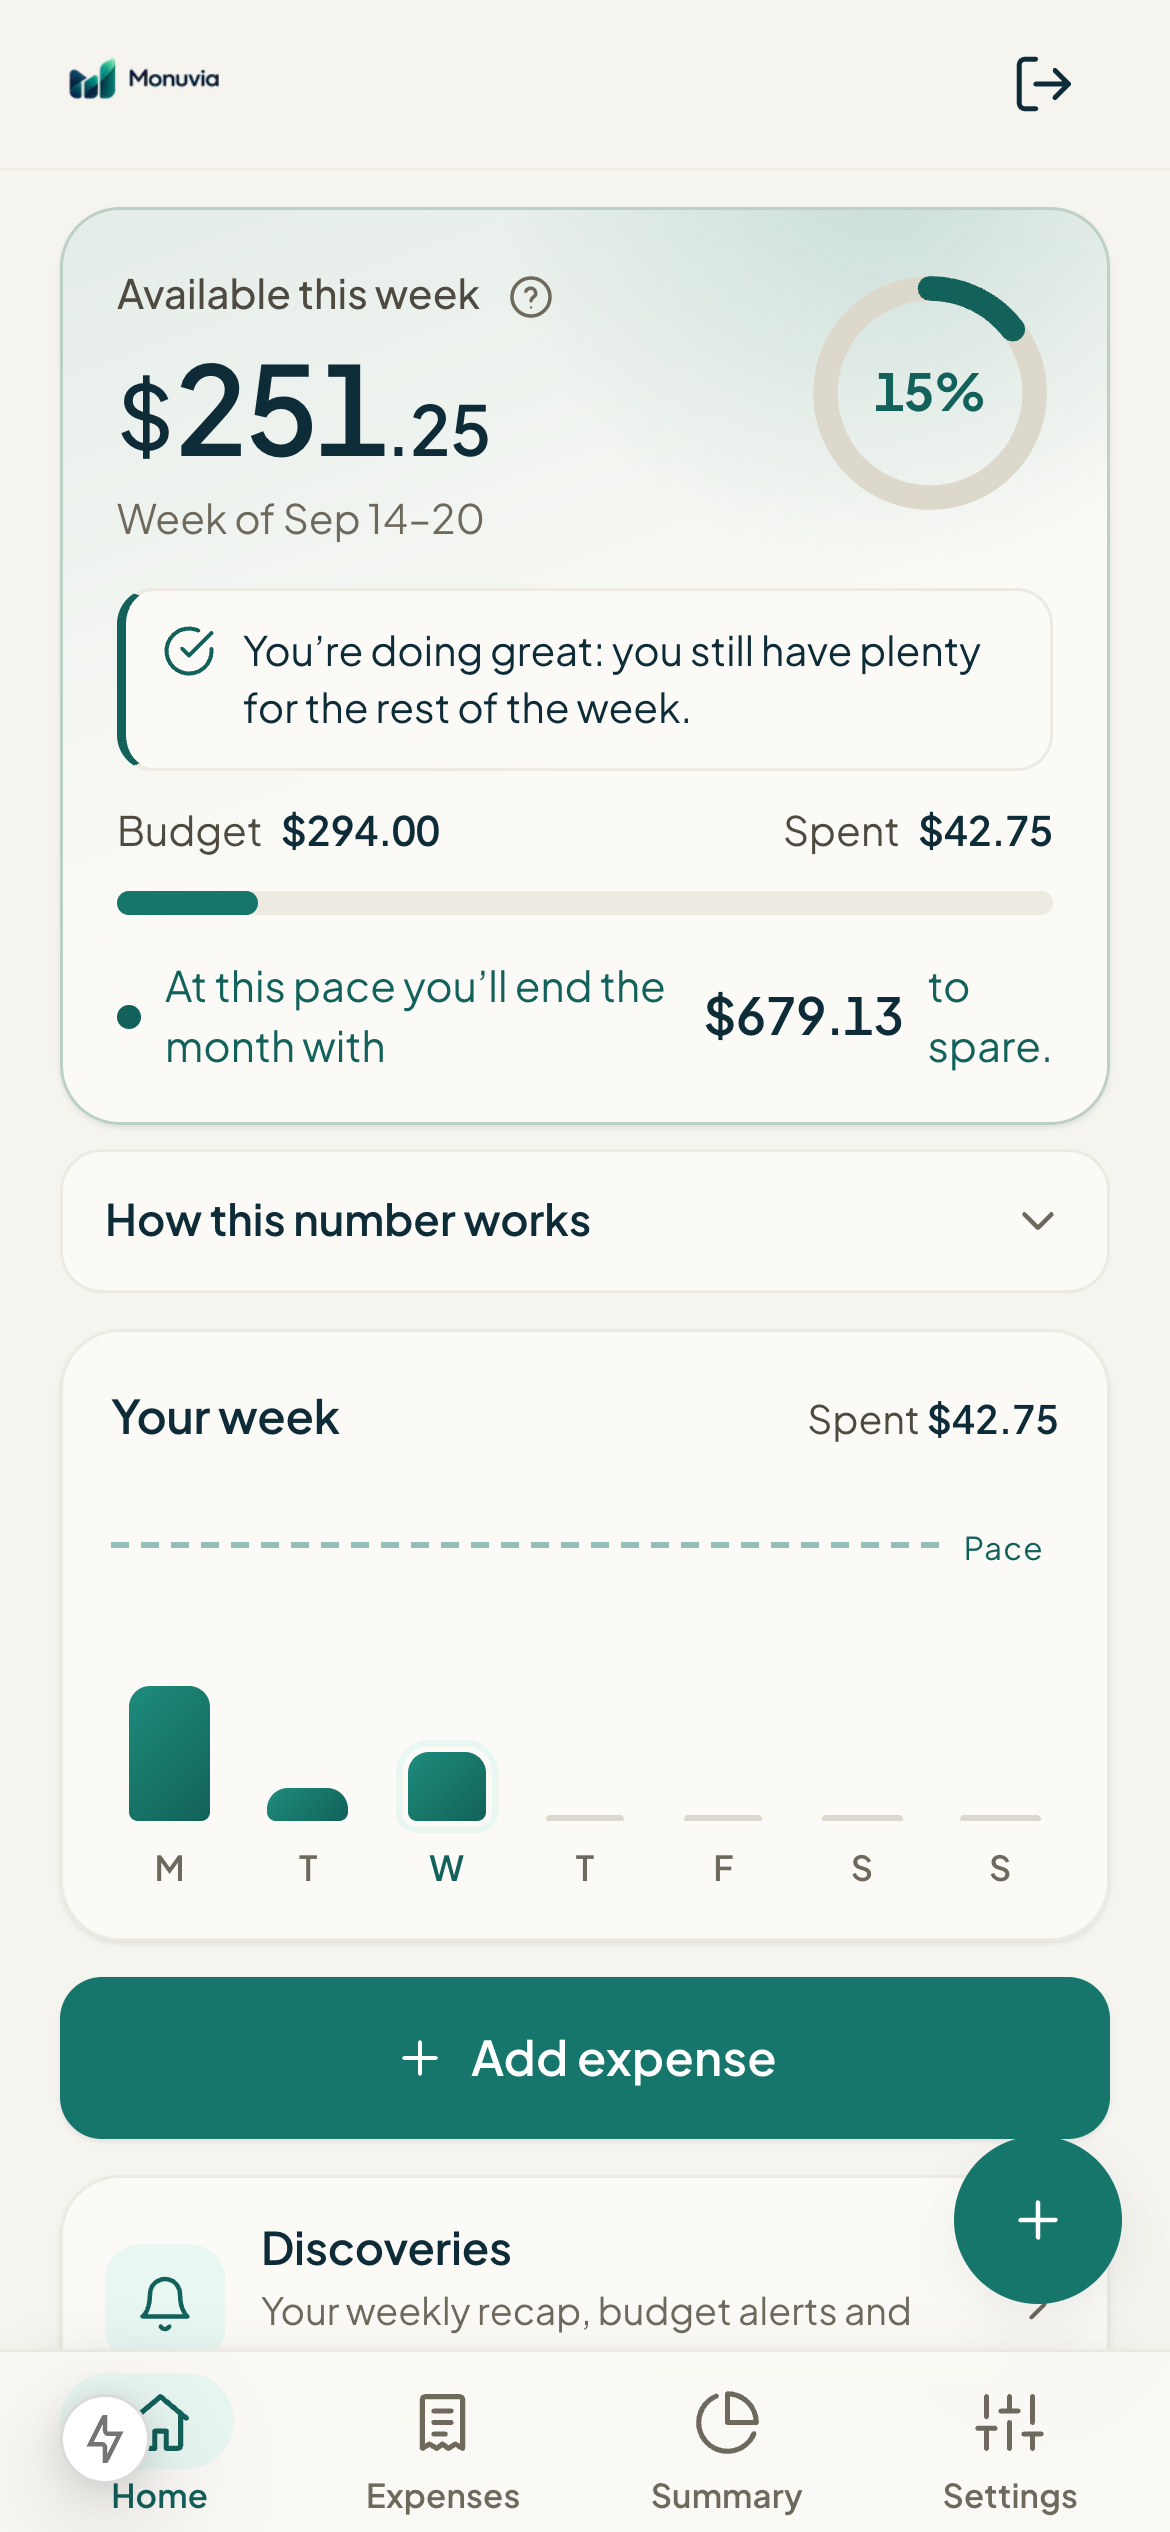
#1. By hand, from Home
It's the fastest way for cash, Yappy, or any payment you want to enter yourself.
- On Home (/app), tap the "Add expense" action ("Cash, Yappy, card… works offline too").
- In "Amount," type the figure, for example 12.50.
- In "Category," pick one from your list, or leave it as "No category."
- In "Merchant or note (optional)," you can write something like "Lunch, cash."
- Tap "Save expense." If you're offline, the button will say "Save (uploads later)."
#2. From a photo of the bill
In the "Scan a bill or receipt" section on Home, you can take a photo or pick an image from your gallery. Monuvia reads the text in the image right on your own phone and tries to find the total so it can record the expense.
- In "Scan a bill or receipt," tap "Take photo" to use the camera, or "▢ Upload image" to pick one from your gallery.
- Frame the receipt in good light, making sure the total is visible.
- Wait for it to finish reading (you'll see "Reading…" and a progress bar).
- Check the message: if it found the total, you'll see the expense recorded; if not, it'll ask you to add it by hand.
#3. Automatic, from your phone
The most convenient way for cards: every payment logs itself. This isn't Monuvia connecting to your bank; it's your own phone, which forwards the payment text to Monuvia from Apple Pay (iPhone) or from the bank's notification (Android).
It's a separate setup you do once. You'll find it explained step by step in the automatic capture guide.
Common problems
I scanned the bill but it says it couldn't find the total.
It won't let me save: it says to enter an amount greater than zero.
I have no signal — can I still log it?
The category it suggested isn't the right one.
Keep learning
Set up automatic capture and revoke a device
Create a token, install the iPhone shortcut or the Android automation so your payments come in on their own, check that they're arriving, and revoke a token whenever you need to.
EverydayBills: log the actual payment, history, and undo
Bills are your fixed payments: rent, loan payments, utilities. Here's how to create them, mark them as paid with the actual amount and date, review your history by month, and undo a payment.
BudgetCategories, per-category limits, and merchant rules
Create categories to sort your expenses, set an optional monthly limit that shows up in Summary, and define merchant rules so expenses sort themselves. Everything is calculated inside your own account, with no external AI.