

Categories, per-category limits, and merchant rules
Create categories to sort your expenses, set an optional monthly limit that shows up in Summary, and define merchant rules so expenses sort themselves. Everything is calculated inside your own account, with no external AI.
Sort your expenses by category, see in Summary how much you've spent against a limit you set, and have repeat merchants sorted automatically.
- An internet connection: creating, editing, and deleting categories and rules is saved to your account.
- To create rules, you need at least one category.
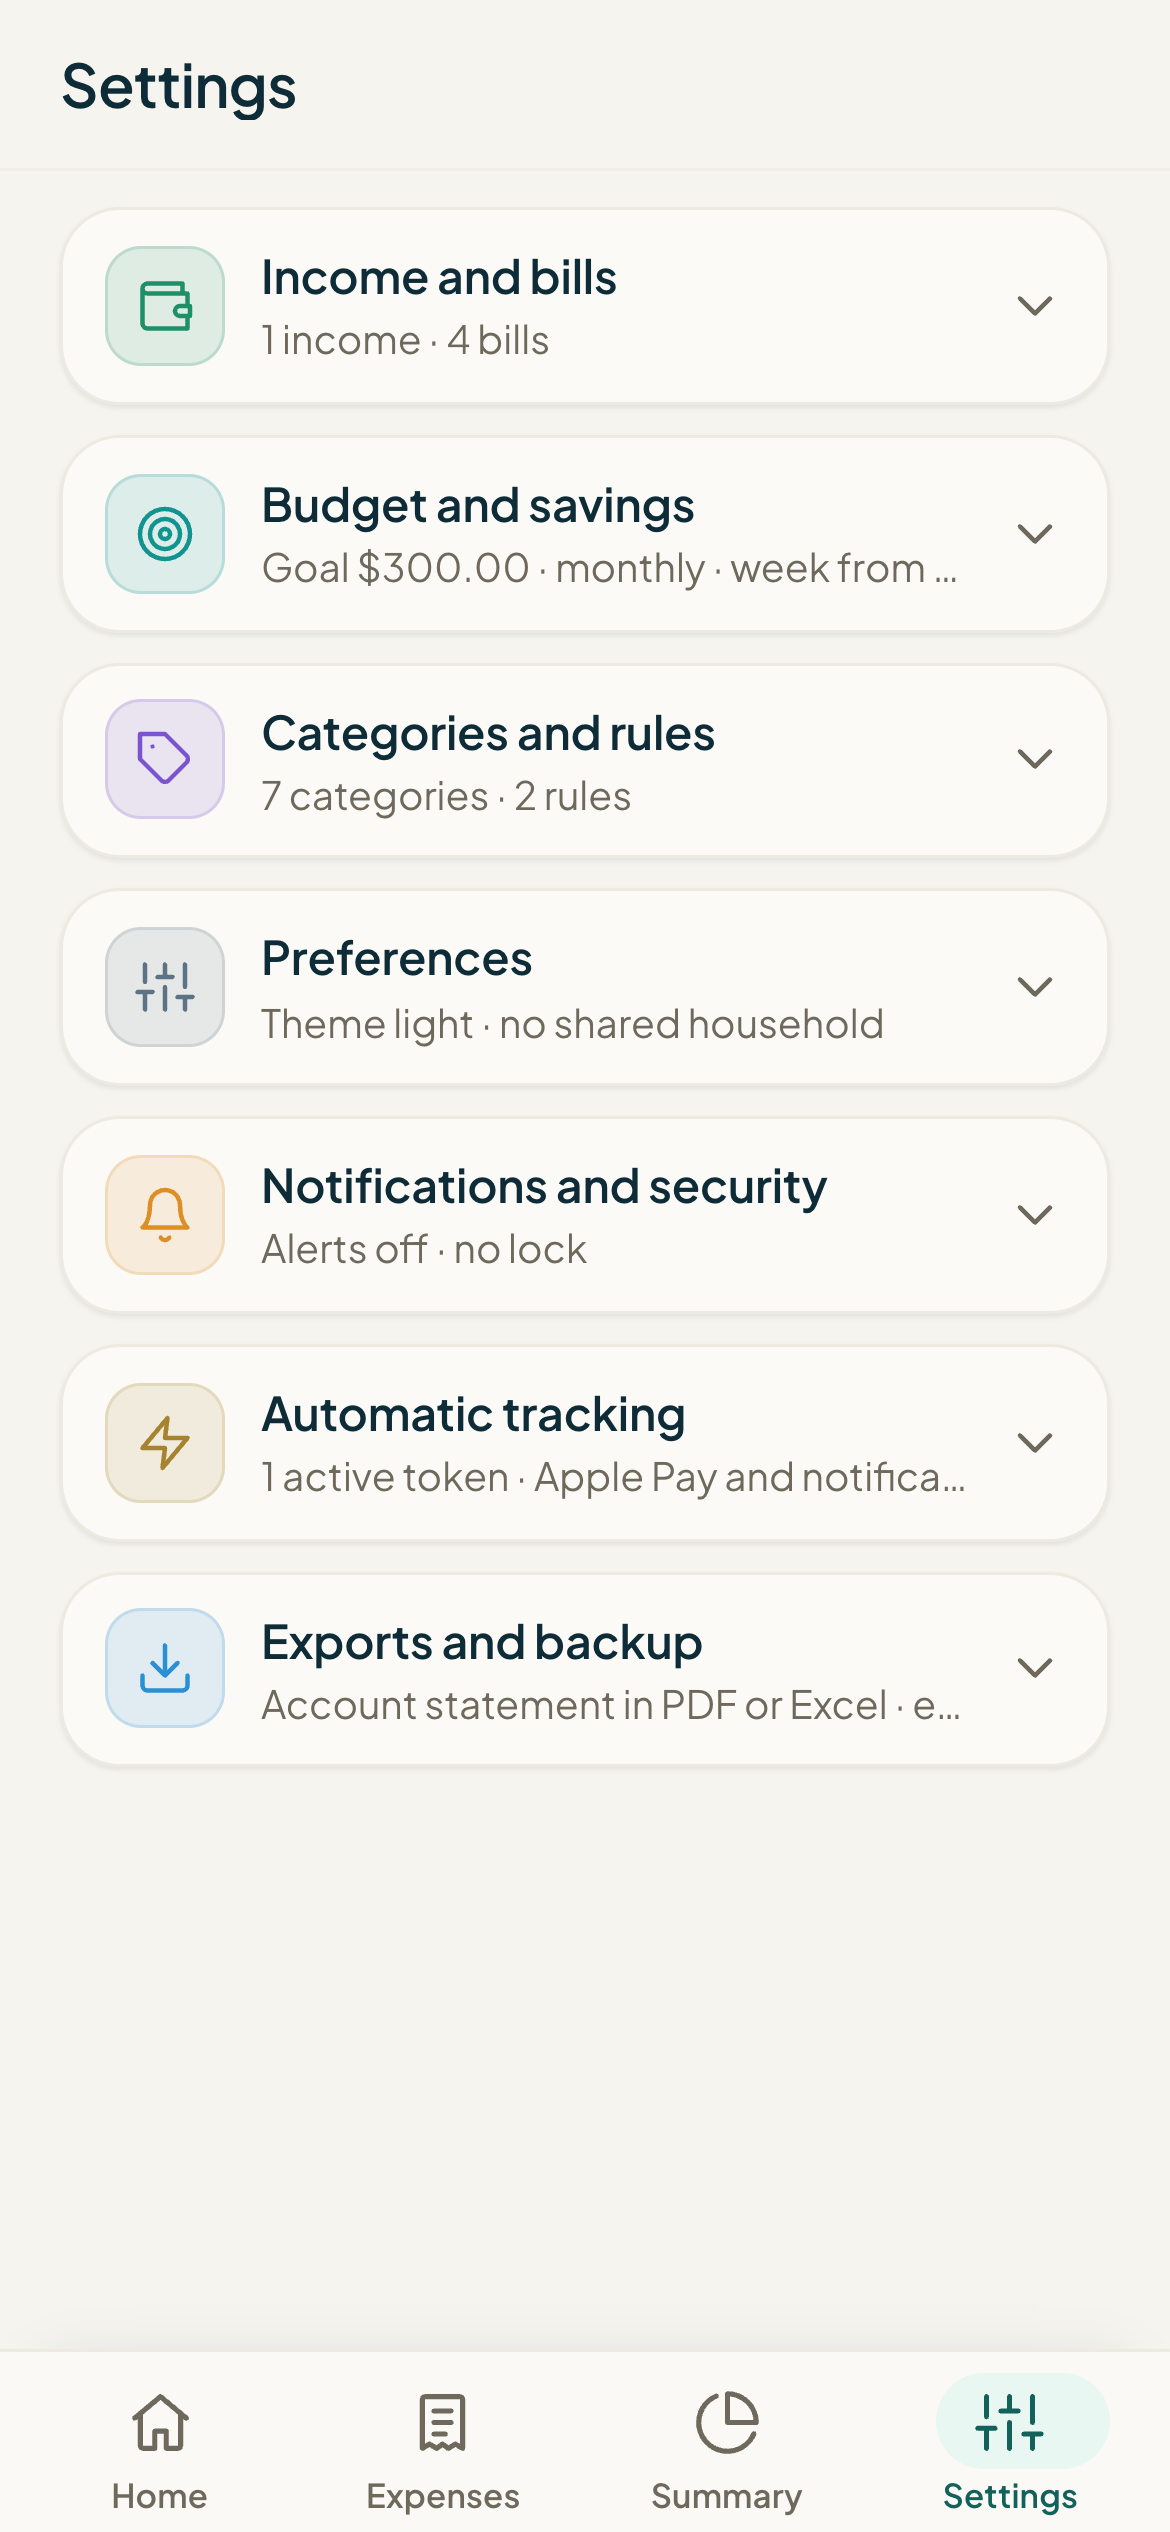
Settings has three sections that work together: Categories, Merchant rules, and (to see your limits) Summary. Together they let you decide how your expenses are grouped and how much you want to spend in each group.
#Create a category
- In Settings, scroll down to the Categories section.
- In the Name field, type what to call it (for example, Pets).
- Tap Add category.
To change the name or the limit, tap Edit on the category; to remove it, tap Delete. When you delete a category, its rules are deleted and its expenses are left with no category (the expenses themselves aren't deleted).
#Set a monthly limit (optional)
- In Categories, tap Edit on the category.
- In the Monthly limit (optional) field, type an amount, or leave it blank for no limit.
- Tap Save changes.
The limit is just for reference. In Summary, inside the Monthly limits section, you'll see a bar for each category that has a limit: how much you've spent so far against the limit (for example, $80.00 / $100.00). The bar fills up as you get closer, and once you go over the limit, the amount and the bar turn red.
#Merchant rules
A rule says: when the merchant name contains certain text (the pattern), that expense goes to the category you choose. That way, repeat merchants get sorted on their own. It applies to Apple Pay, notifications, and receipts.
- In Settings, go to the Merchant rules section.
- In Pattern, type the text that identifies the merchant (for example, SUPER 99). It's saved in uppercase.
- In Category, choose where those expenses should go.
- Tap Add rule.
#Category suggestion
When you add an expense that has a merchant, Monuvia can suggest a category. First it checks whether any of your rules match the merchant; if not, it looks through your own history for the category you've used most often for that merchant (or for its first word). In other words, it learns from your own corrections.
Common problems
I can't create rules: it tells me I need a category.
I entered a pattern with % or _ and it won't let me.
I set a limit, but the expense wasn't counted against the category.
I don't like my category's color.
Keep learning
Edit expenses, review possible duplicates, and turn an expense into a bill
Fix an expense's amount, merchant, category, or date; delete it; understand the possible-duplicate flag; and turn an expense into a bill (just this month or every month).
BudgetUnderstanding your available amount and monthly summary
What your available amount really means (a calculated figure, not a bank balance), how to read the "How this number is calculated" breakdown, why it changes, and how to make sense of the Summary's donut chart and yearly table.
EverydayAdding an expense: by hand, by photo, and through automatic channels
Three ways to log an expense in Monuvia: typed in by hand from Home, from a photo of a bill, or automatically from your phone. Here's each one and when to use it.