

Export and import expenses (CSV), install the app, and switch themes
Save your expenses to a CSV file, import them back in, install Monuvia on any device, and set a light or dark theme.
Export your expenses to a CSV file to keep them or open them in Excel, re-import them whenever you want, have the app installed with its own icon on your phone or computer, and use it in whichever theme you prefer.
- Signed in to Monuvia.
- A connection to export and import (the file is generated and uploaded through your account).
- To install: your device's browser (Safari on iPhone/iPad, Chrome on Android, Chrome or Edge on Windows, Safari or Chrome on Mac).
Your data is yours. Monuvia lets you export your expenses to a CSV file to keep them separately or open them in Excel, and upload them again whenever you want. Here you'll also see how to install the app on any device and how to change the theme.
#Exporting your expenses to CSV
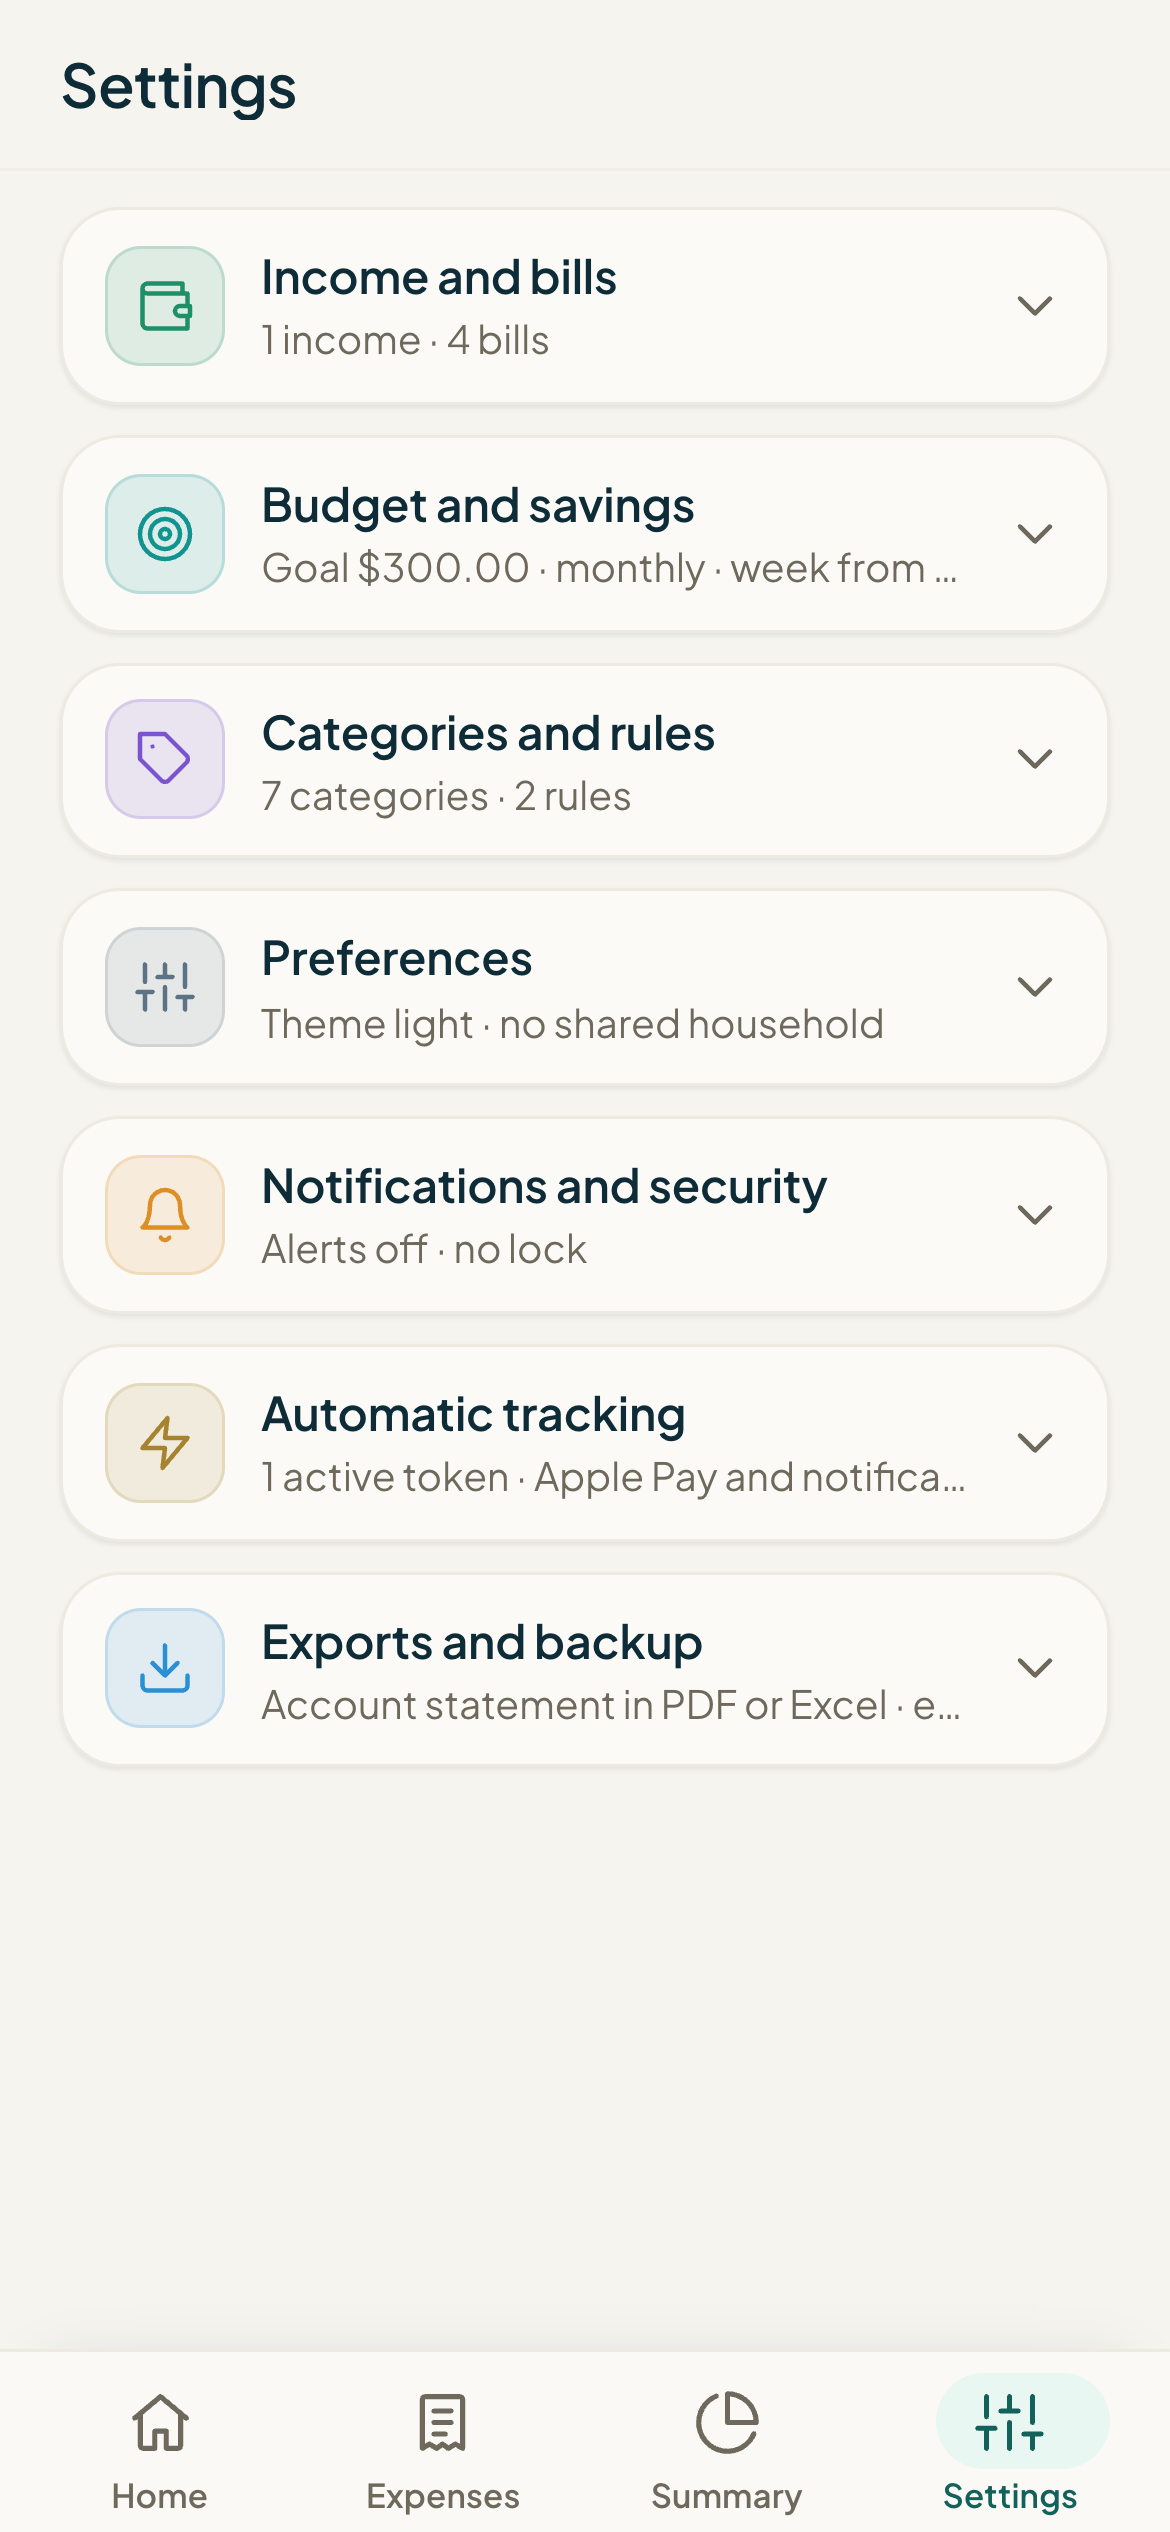
In Settings, scroll down to the "Exports and backup" section.
- Open Settings and find the "Exports and backup" section.
- Tap the "Export CSV" button.
- A file named monuvia-gastos-YYYY-MM-DD.csv downloads (with today's date).
- When it finishes, you'll see a message like "Exported N expenses."
#Importing expenses from a CSV
You can re-upload a file you exported, or prepare one using the template. At a minimum, Monuvia needs just the fecha (in YYYY-MM-DD format) and monto columns; comercio and categoria are optional.
- In "Exports and backup", tap "Template" if you want a sample file with the correct columns.
- Fill in or review your file: the fecha (YYYY-MM-DD), comercio, categoria, and monto columns.
- Tap the "Import CSV" button and choose your file.
- When it finishes, you'll see "Imported N expenses"; if any row didn't have a valid fecha or monto, it'll tell you how many were skipped.
#Installing the app on your device
Monuvia is a web app: it isn't in any store. You install it from your browser, and it gets its own icon, opens full screen, and keeps you signed in. The steps vary by device; the app detects yours and shows them on the "Install the app" page.
You can get there from the button at the bottom of Home, or by going straight to the install page.
iPhone/iPad
- Open Monuvia in Safari.
- Tap the "Share" button (the square with an up arrow).
- Scroll down and choose "Add to Home Screen".
- Tap "Add". The app now has its own icon; open it from there.
Android
- Open Monuvia in Chrome.
- If the "Install app" prompt appears at the bottom, tap it; if not, open the ⋮ menu (top right).
- Choose "Install app" or "Add to Home screen" and confirm.
- In Samsung Internet: ≡ menu → "Add page to" → "Home screen".
#Switching between light and dark theme
The app follows your device's theme: if your phone or computer is in dark mode, Monuvia looks dark, and if it's in light mode, it looks light. You don't need to change anything inside the app.
- On iPhone/iPad: system Settings → Display & Brightness → choose Light or Dark.
- On Android: system Settings → Display → Dark theme.
- On Windows/Mac: your system's appearance settings.
- When you return to Monuvia, the app already shows the theme you chose.