

Your daily routine with Monuvia
How to use Monuvia day to day: check your available amount when you open the app, add your expenses, confirm your bills when you pay them, and review your summary.
A simple routine to keep your finances up to date: you'll know how much you have available this week, add your expenses in seconds, confirm what you pay, and see how you're doing.
- You're signed in to Monuvia.
- Your income and bills entered in Settings (so your available amount makes sense).
Monuvia is built to take just a little time each day. Here's the routine we recommend: check your available amount when you open the app, add expenses as they happen, confirm your bills when you pay them, and glance at your summary now and then.
#1. When you open it: check your available amount
The first thing you see on the Home screen is "Available this week": a big number at the top, with a bar showing how much you've spent so far. Below it, you'll see how big your budget for the week is and the dates it covers.
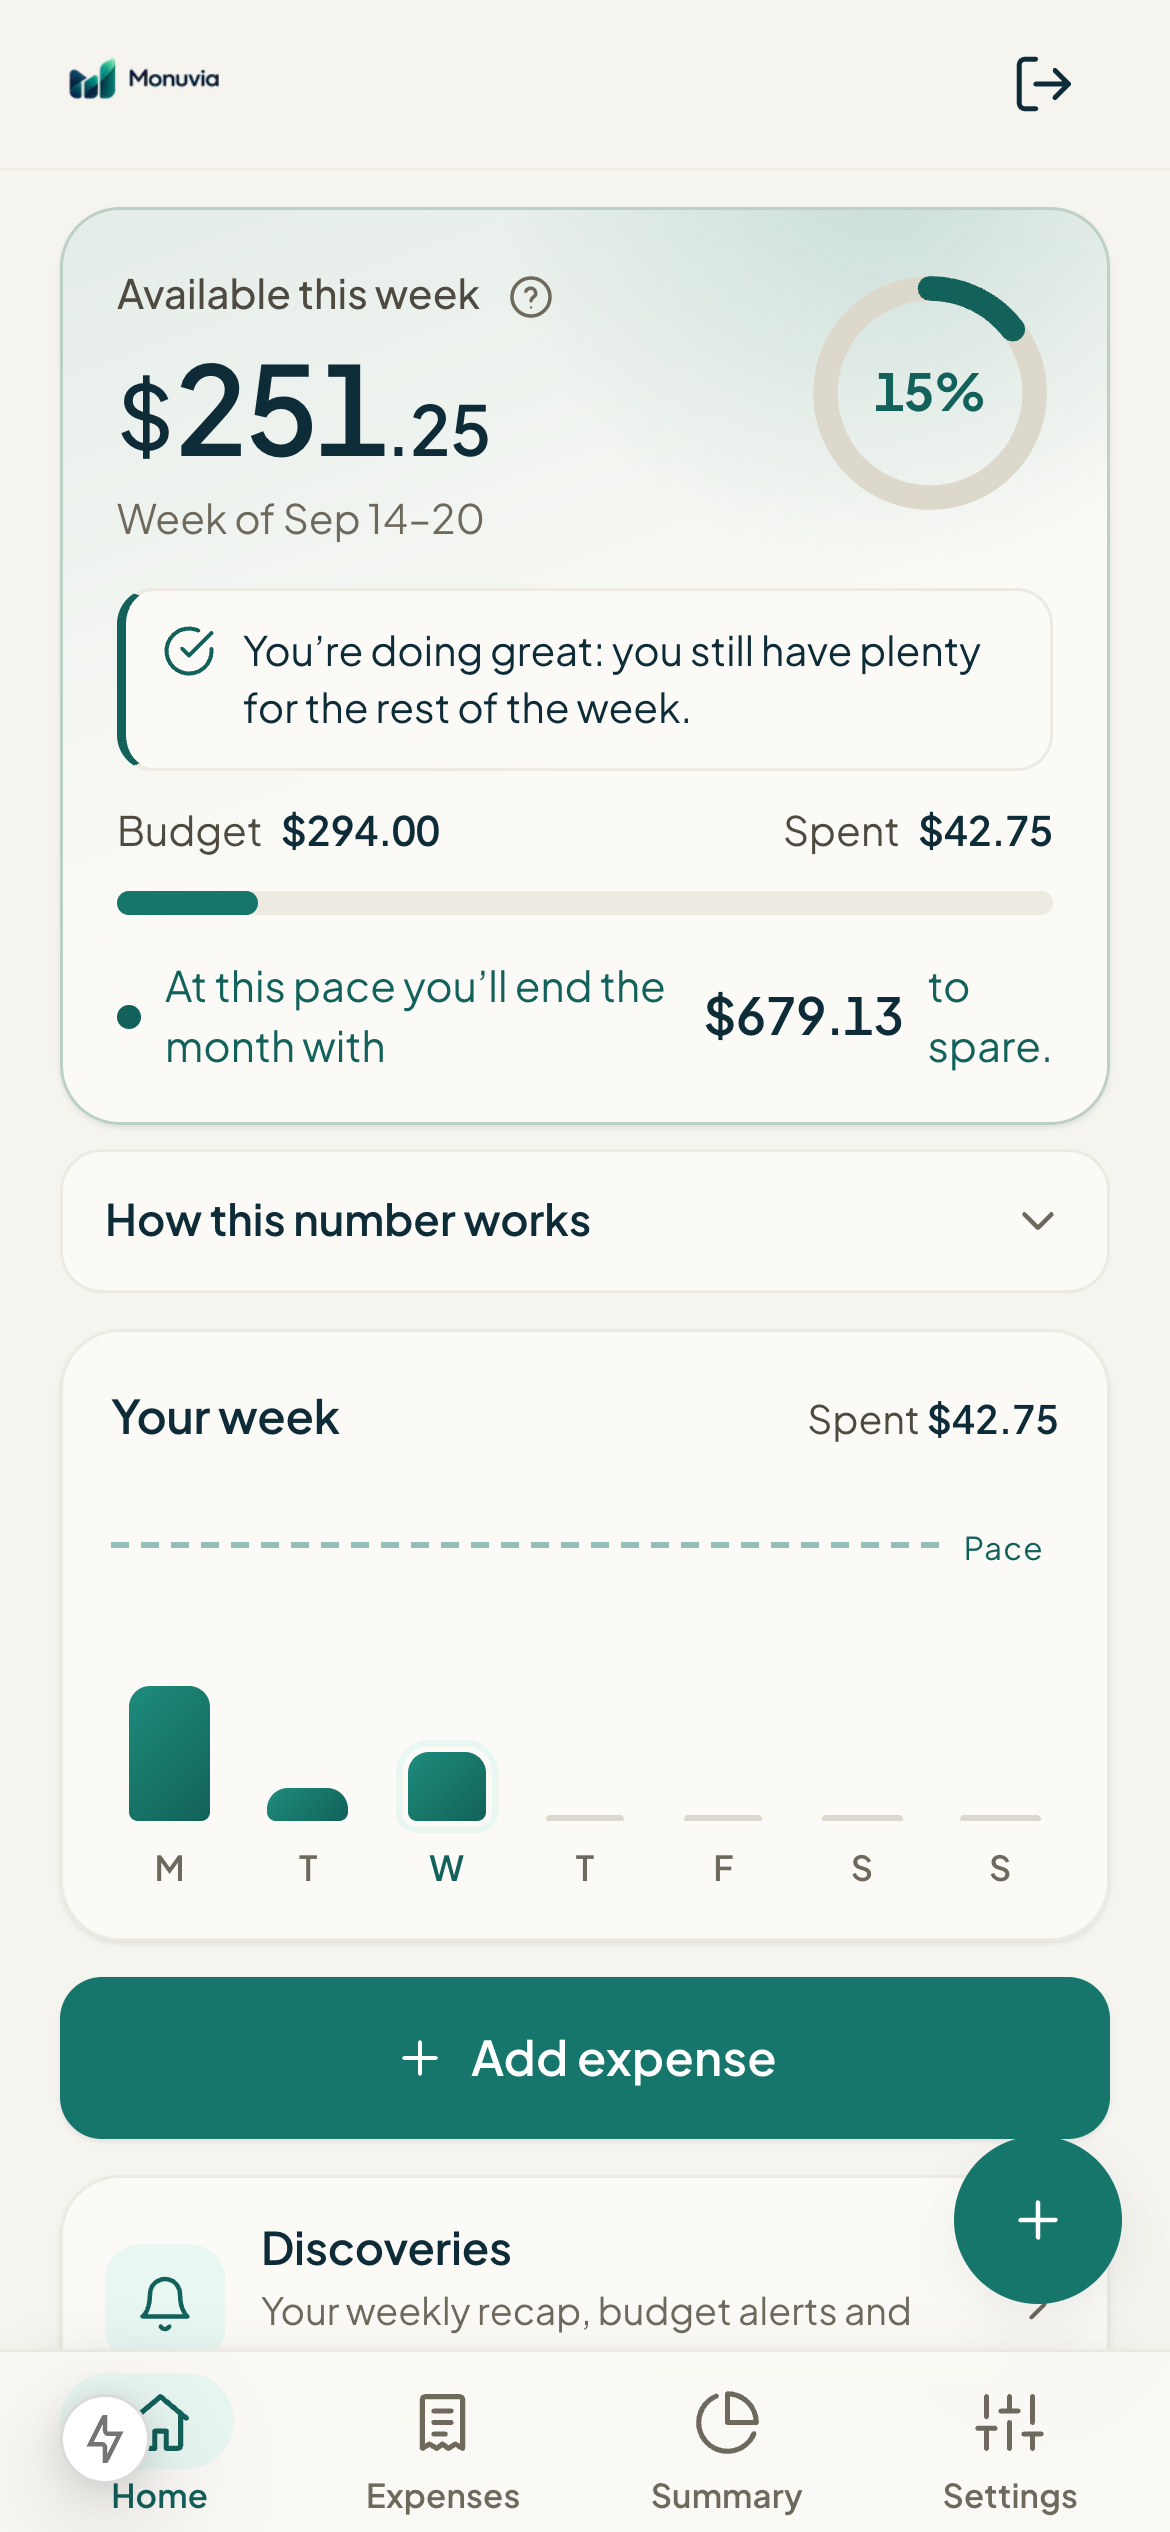
Each week's budget is fixed and only goes down with the expenses you record. Every month (or fortnight) it starts over.
#2. During the day: add your expenses
Every time you spend, jot it down. This is the most important part of the routine: your available amount only goes down with what you record.
- On the Home screen, tap "Add expense".
- Enter the Amount.
- If you like, pick a Category and fill in the Merchant or note (optional).
- Tap "Save expense".
If you connected Apple Pay or Google Pay from your phone, those payments can be recorded automatically and show up in "Latest expenses" without you doing a thing.
#3. When you pay a bill: confirm it
Rent, loan installments, utilities: mark them as paid when you actually pay them, from the Bills section (there's a shortcut on the Home screen).
- On the Home screen, tap "Bills".
- Mark the right one as paid.
- Go back to Home: the screen shows how many you've paid this month.
#4. Now and then: review your summary
Under "Latest expenses" on the Home screen, you'll see your most recent transactions. For a breakdown by week and month, tap "See all". And in Summary you'll find the donut with your spending by category.
- Tap "How this number works" to understand your available amount.
- Use Summary to see where your money goes by category.
- If you set a limit on a category, Summary flags it when you go over.